
Last updated November 17, 2026
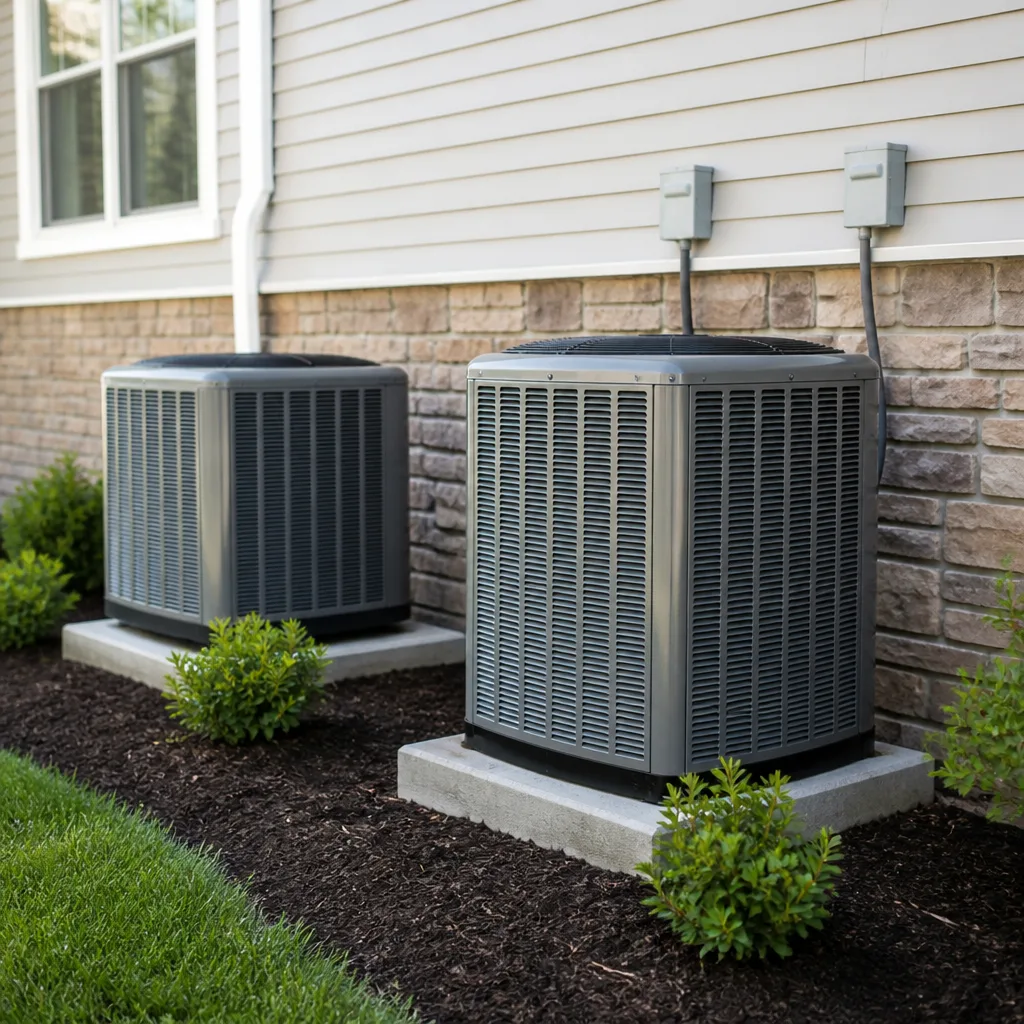 Heat pumps
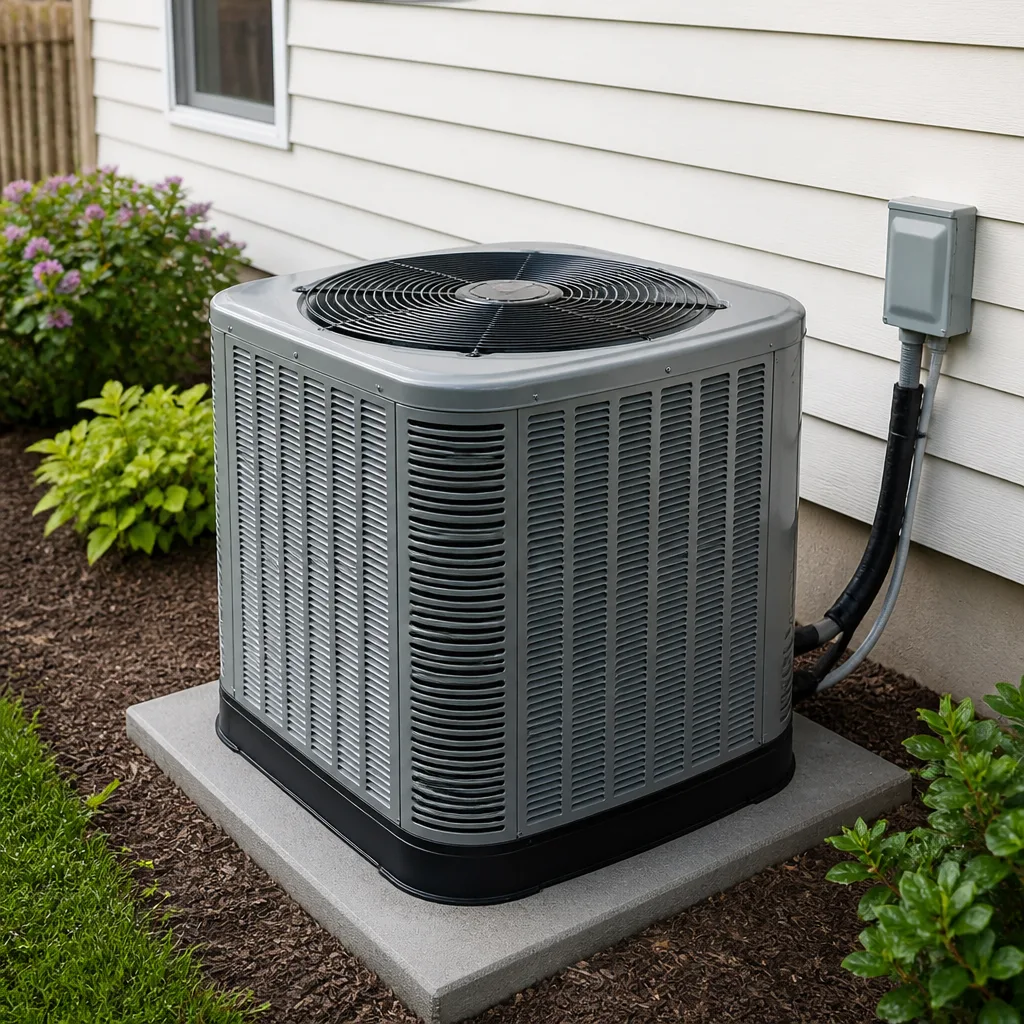 AC repair
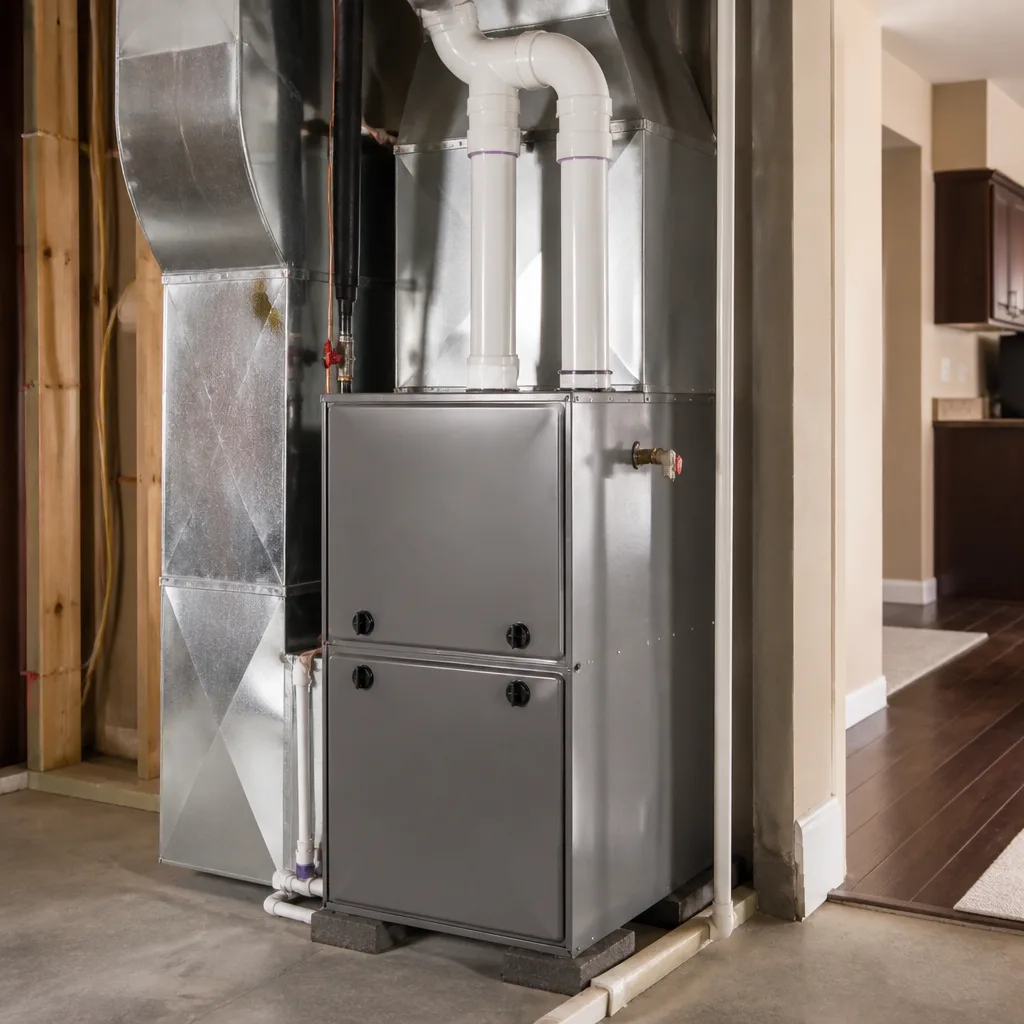 Furnace & heating
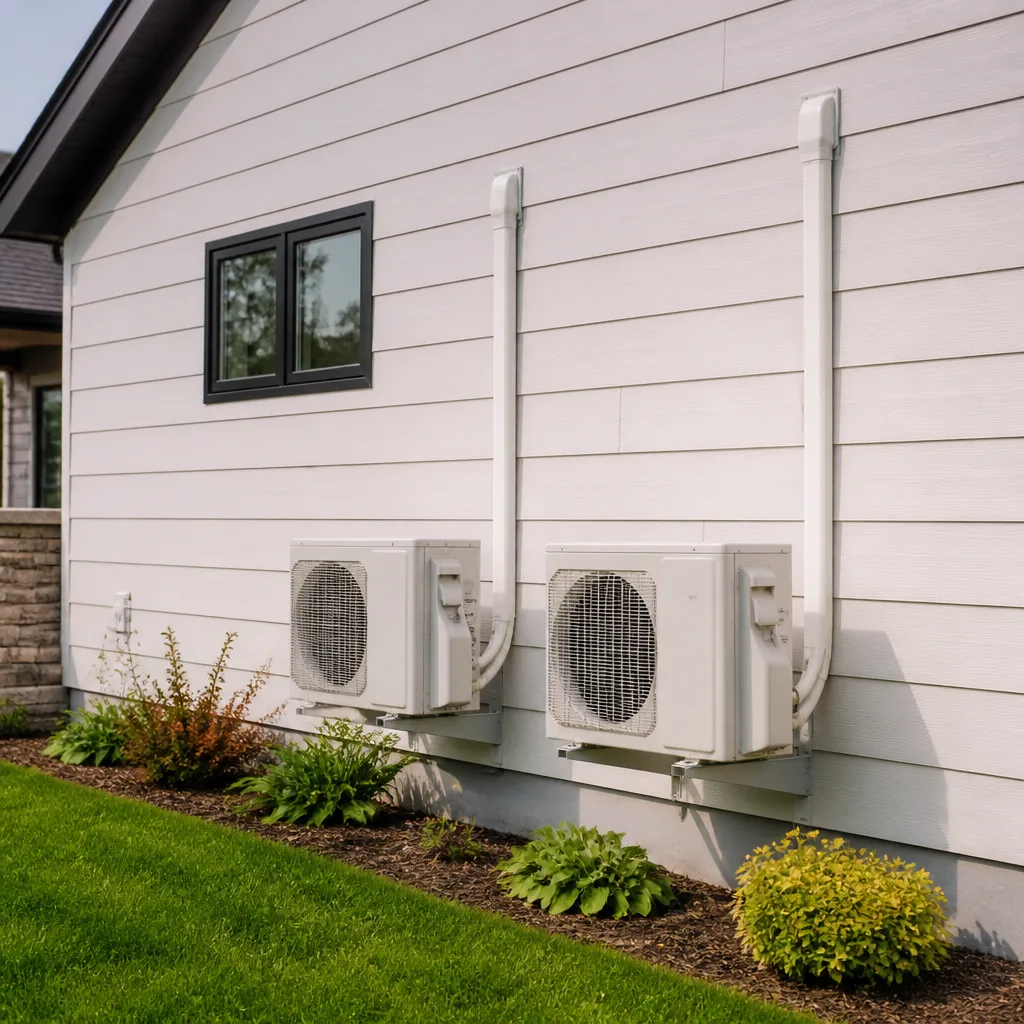 Ductless mini splits
 Carrier
 Trane
 Goodman
Seasonal tune-up and full diagnostic on your Carrier, Trane, or Goodman system - readings shown to you before any repair is proposed
Diagnosis first, numbers second - you approve the repair price before a single part goes in.
Get your free estimateHeat Pump Installation Warning Signs Every Homeowner Should Know
A heat pump that cools your house on day one but loses efficiency every summer isn’t a bad unit. It’s almost always a bad installation. We’ve walked into Spring Valley homes where a two-year-old Carrier or Trane system was already on its second compressor, and the homeowner had no idea the problem started the day the crew drove away. Heat pumps don’t usually fail loudly. They fail quietly over 18 months through compressor wear, refrigerant drift, and airflow restriction, and most people never connect the dots back to the original install. This guide teaches you to audit the job before the warranty runs out. You’ll learn what to check in the paperwork, what to inspect with your own eyes, and how to read your first utility bill as a diagnostic.
Quick Answer
The biggest heat pump installation warning signs are missing documentation (no Manual J load calculation, no written refrigerant charge record, no pulled permit), physical shortcuts (uninsulated line sets, an unleveled pad, disconnected duct collars), and a first utility bill that jumps 15 – 20% instead of dropping. Any one of these means the system was likely commissioned poorly and will lose efficiency every year until the equipment fails.
Styles & brands we work with
- AC repair
- Furnace & heating
- Heat pumps
- Ductless mini splits
- Carrier
- Trane
- Goodman
Table of Contents
- The Paperwork Red Flags: Manual J, Refrigerant Records, and Permits
- The Physical Inspection You Can Do Yourself
- Reading Your First Utility Bill as a Diagnostic
- Contractor Behaviors During the Job That Signal a Shortcut Crew
- Your 90-Day Post-Install Checklist
- Why Spring Valley’s Climate Punishes Sloppy Installs
- Common Mistakes to Avoid
- When to Call a Professional
The Paperwork Red Flags: Manual J, Refrigerant Records, and Permits
The install starts long before anyone touches a wrench. It starts with a load calculation, and if you never saw one, that’s the first warning sign. Here’s what each document means and why its absence matters.
No Manual J Load Calculation
A Manual J is the room-by-room calculation that determines exactly how much heating and cooling capacity your house needs. It factors in square footage, window orientation, insulation, ceiling height, and local design temperatures. A contractor who sizes a heat pump by eyeballing your square footage and dividing by 500 is guessing. In our experience across Spring Valley, oversized systems are the norm when the load calc gets skipped, and an oversized heat pump short-cycles, which means it never runs long enough to dehumidify or reach steady efficiency. You get a system that blasts cold air, then stops, then starts again, and the compressor wears out years early. Ask for the Manual J report. If the answer is “we’ve been doing this long enough to know,” that’s not an answer.
No Written Refrigerant Charge Record
Refrigerant charge is the exact amount of refrigerant the system holds, measured in ounces. It has to be weighed in or verified with superheat and subcooling readings, and it should be written down on the commissioning sheet. A system that’s undercharged by even 10% runs hotter, works harder, and loses capacity. A system that’s overcharged is just as bad. Without a written record, you have no baseline to compare against next year when a technician says “you’re a little low.” That’s how refrigerant drift goes unnoticed for 18 months.
No Permit Pulled
Heat pump replacements and new installs require a permit in most jurisdictions, and the permit triggers an inspection. A contractor who talks you out of a permit (“it just slows things down”) is skipping the one independent check on their work. No permit also creates a real problem at resale, when an inspector or buyer’s agent asks for documentation on a major mechanical system. Ask for the permit number before work begins.
The Physical Inspection You Can Do Yourself
You don’t need gauges to spot a sloppy install. Walk outside and look at the outdoor unit, then walk into the attic and look at the air handler. These are the things we check first on any Spring Valley service call, and you can check them yourself.
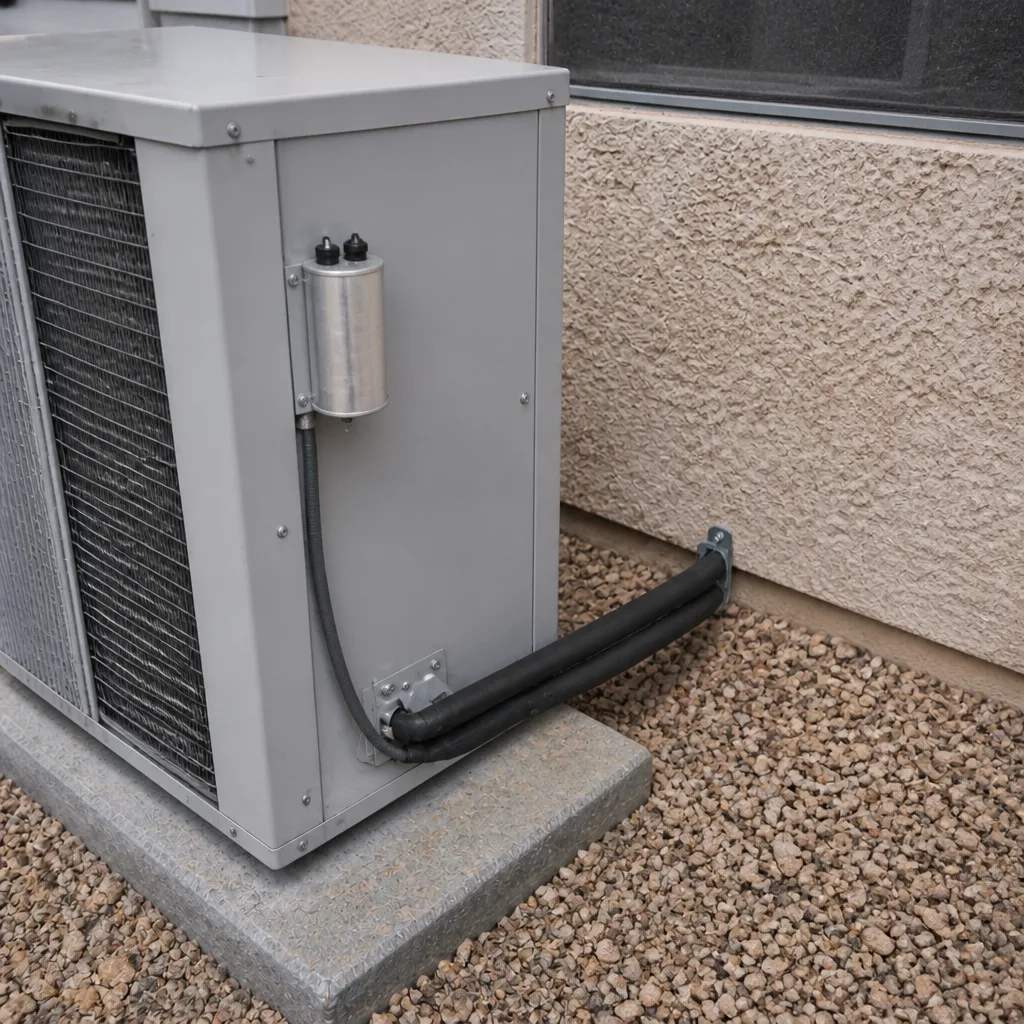
- Refrigerant line insulation gaps. The two copper lines running from the outdoor unit to the house should be wrapped in closed-cell insulation from end to end, with no bare copper showing. Gaps let the suction line sweat and lose efficiency. Look closely where the lines enter the wall and where they bend.
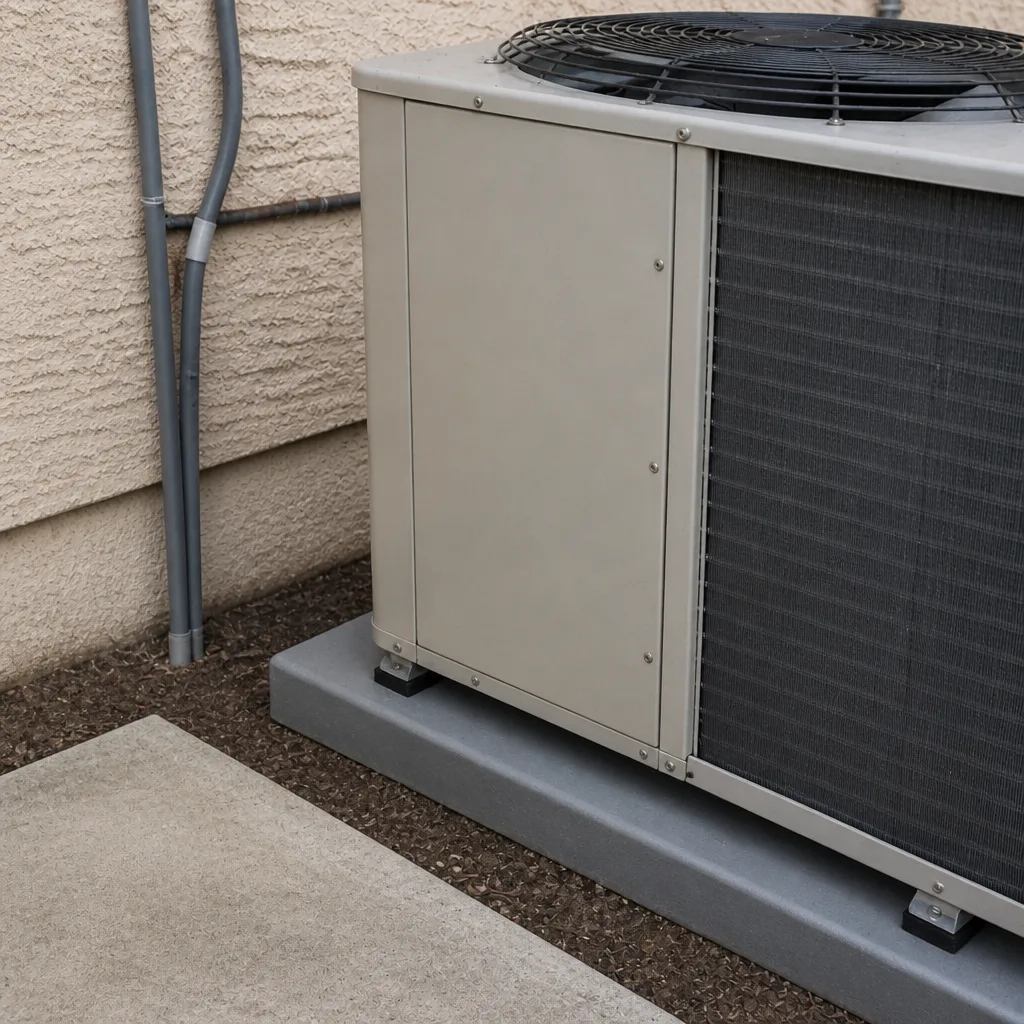
- A flimsy or unleveled pad. The outdoor unit should sit on a solid pad, level within a small tolerance. A unit that rocks or tilts puts stress on the compressor mounts and the refrigerant lines. In Spring Valley, where summer ground temperatures push 150°F at the surface, a cheap plastic pad can soften and shift.
- Disconnected duct collars in the attic. Follow the flex duct from the air handler. Every connection should be sealed and secure. A collar that’s slipped off is dumping conditioned air into a 140°F attic, and your house never gets comfortable. This is one of the most common install failures we find.
- Filter drier location and orientation. The filter drier should be installed on the liquid line, with the arrow pointing toward the indoor coil. Backwards installation is rare but it happens, and it chokes the system.
- Condensate drain slope. The drain line should pitch continuously downhill to the discharge point, with a trap if required. A flat or back-pitched drain clogs and floods.
If any of these look wrong, photograph them and note the date. That evidence matters if you need to make a warranty claim.
Reading Your First Utility Bill as a Diagnostic
Your utility bill is the most honest report card on the install. Compare the same month year over year, after the new system has run through a full billing cycle. What you see tells you a lot.
A properly installed, properly sized heat pump should show a modest drop in energy use during the cooling season, usually somewhere in the 10 – 25% range compared to an older system, depending on what you replaced. If your bill goes up 15 – 20% in the first summer, that’s a red flag. It usually means one of three things: the system is oversized and short-cycling, the refrigerant charge is off, or the ductwork is leaking. Any of those is an installation problem, not a homeowner problem.
Spring Valley summers are brutal on heat pumps. We routinely see July and August bills that climb steadily over the first three summers after an install, and it’s not because the equipment is degrading on its own. It’s because a small refrigerant leak or a duct collar that slipped was never caught. The bill creep is the only symptom the homeowner notices.
One caveat: don’t judge the first month. Weather varies, rates change, and occupancy shifts. Compare the same billing period across two years, and look at the trend, not a single data point.
Contractor Behaviors During the Job That Signal a Shortcut Crew
You don’t have to hover over the crew, but a few minutes of observation tells you a great deal. These are the behaviors that separate a by-the-book install from a shortcut job.
- No vacuum on the line set. Before refrigerant is released, the line set has to be pulled down to a deep vacuum to remove moisture and non-condensables. A crew that skips the vacuum or rushes it in five minutes is leaving moisture in the system. That moisture mixes with refrigerant oil and forms acid, which eats the compressor from the inside. Ask how long they pulled vacuum. A proper evacuation takes time.
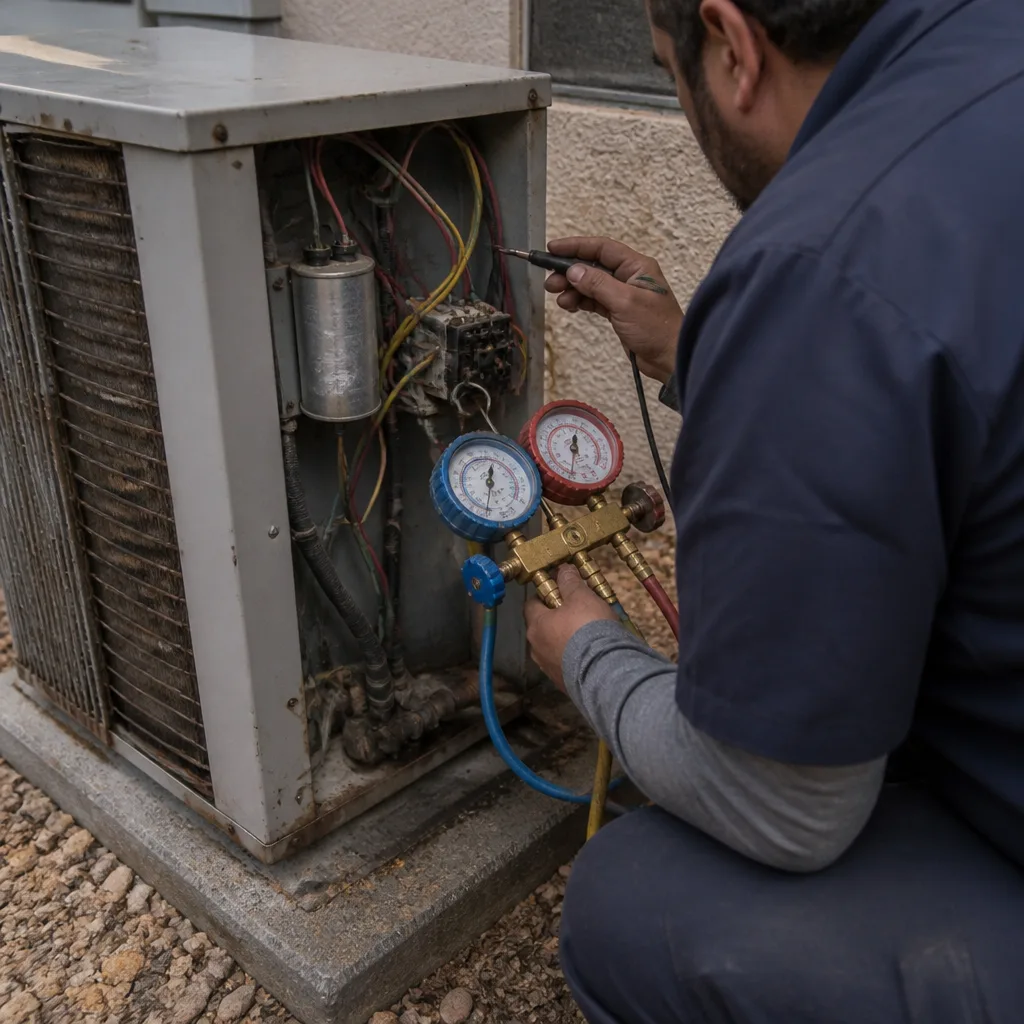
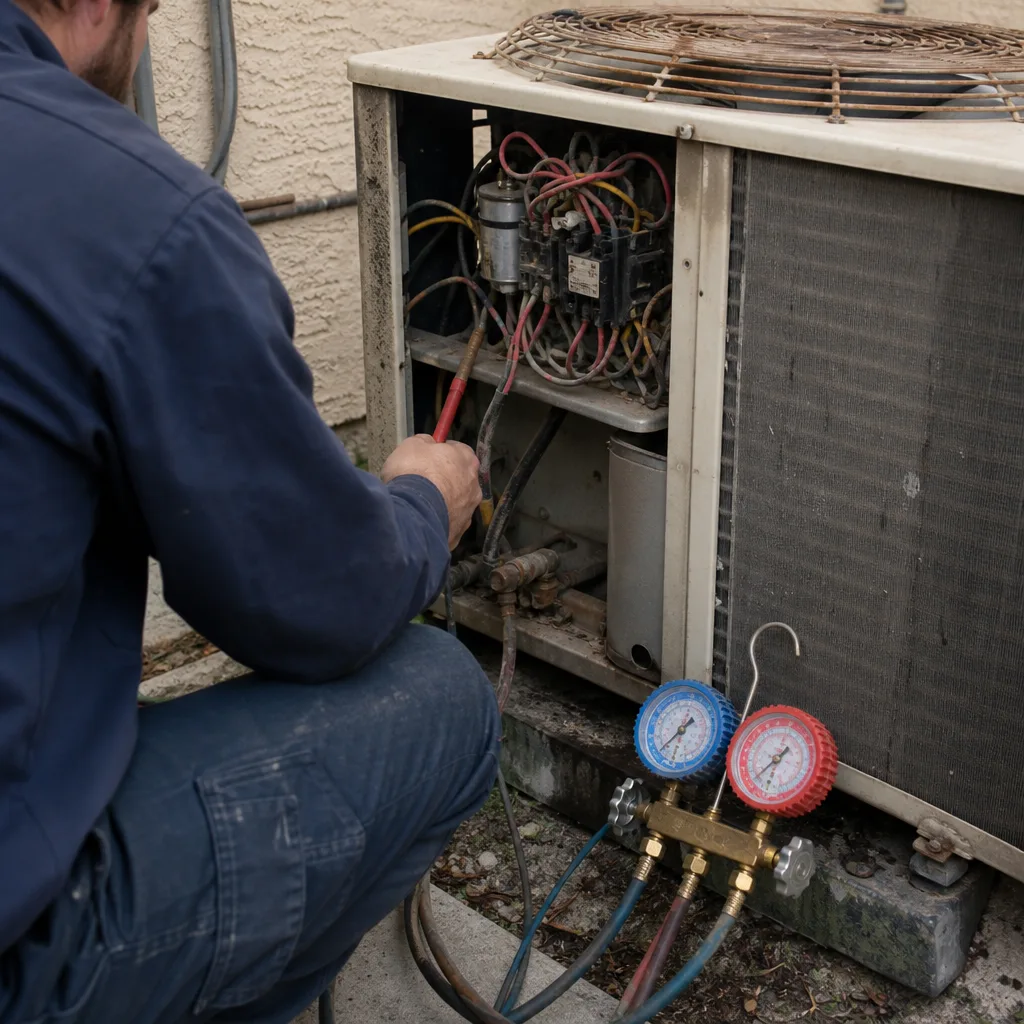
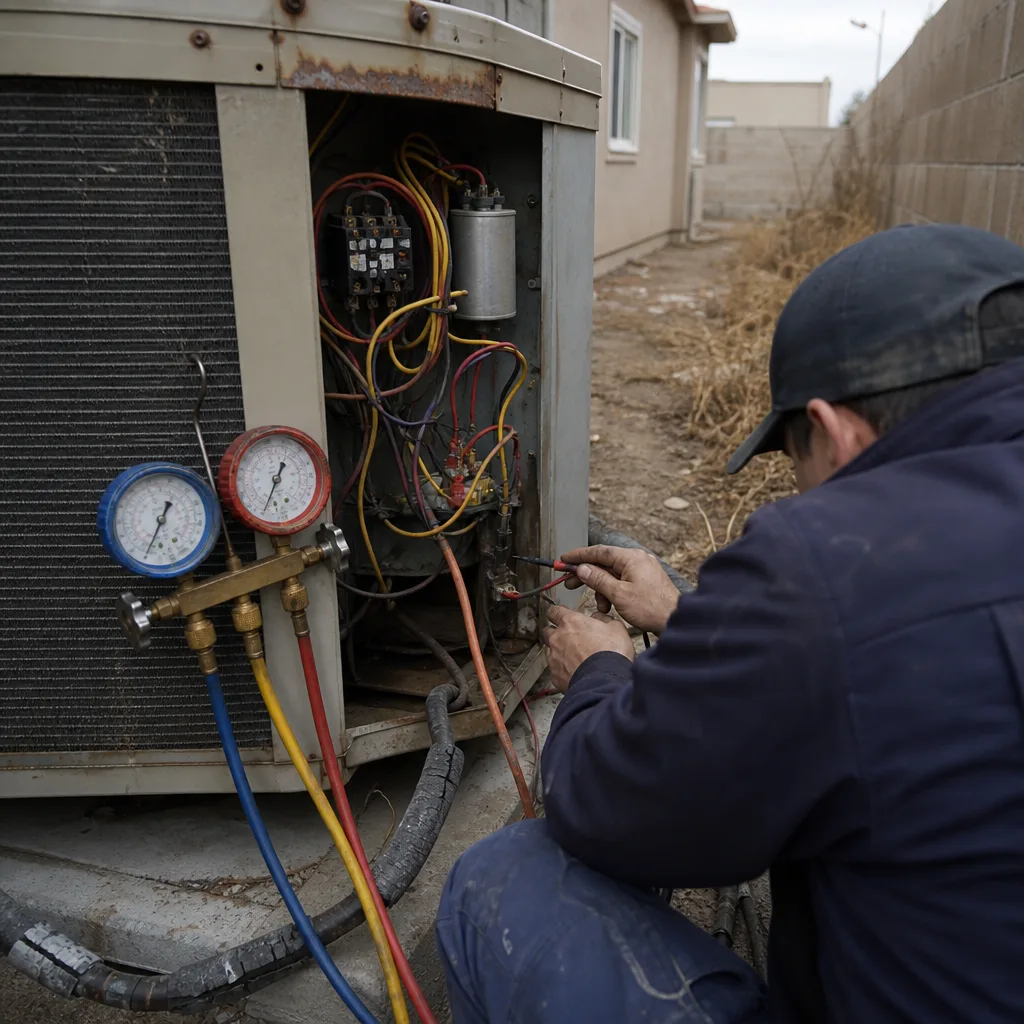
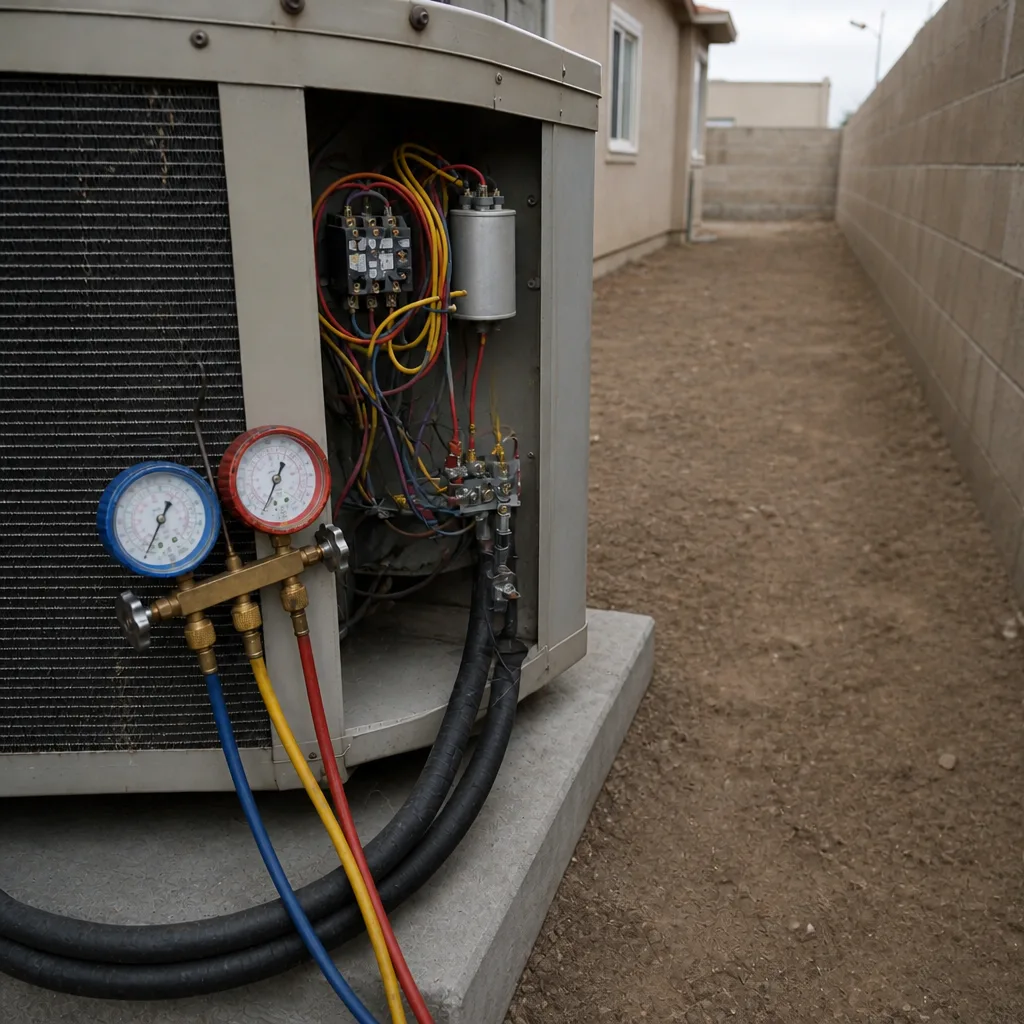
- No digital manifold gauges. Analog gauges are imprecise. A technician verifying charge on a modern heat pump should be using digital gauges that read subcooling and superheat to a tenth of a degree. If you see old analog gauges, ask whether they’re using a digital set for the final charge verification.
- No thermostat calibration check. After the install, the thermostat has to be checked against a reference thermometer and calibrated so the system runs to the actual setpoint. A thermostat reading 3°F off means the system runs longer or shorter than it should, every single day.
- No commissioning sheet. A professional crew fills out a startup sheet: static pressure, temperature split, refrigerant charge, amp draws, and airflow. Ask for a copy. If they don’t have one, the install wasn’t verified.
- Rushing the final walkthrough. A good crew walks you through the system, shows you the disconnect, the filter location, and the thermostat settings, and answers your questions. If they’re packed up before you get a chance to look, that’s a signal.
Your 90-Day Post-Install Checklist
The first 90 days are when installation problems are cheapest to fix, because installer warranties and equipment warranties are both still fully in force. Use this checklist to catch issues early.
- Week 1: Confirm the permit was pulled and the inspection is scheduled. Get a copy of the Manual J and the commissioning sheet.
- Week 2: Check the outdoor unit pad for level. Look for any vibration or unusual noise. Confirm the thermostat is reading the same temperature as a separate thermometer in the same room.
- Week 3 – 4: Inspect the refrigerant line insulation for gaps. Check the condensate drain for flow. Change the filter and note the size.
- Day 30: Compare indoor temperature to setpoint at three times of day: morning, late afternoon, and evening. A system that can’t hold setpoint on a hot afternoon has a charge or airflow problem.
- Day 45: Walk the attic. Confirm every duct collar is seated and sealed. Look for any water staining near the air handler.
- Day 60: Compare your first full utility bill to the same month last year. Note the percentage change.
- Day 90: Schedule a professional checkup if anything looks off. If the system is short-cycling, the bill is up, or you found disconnected ductwork, call for a diagnostic before the installer warranty window narrows.
If you’d rather have a trained eye look at it, that’s what we do. A heat pump installation in Spring Valley from our team includes the Manual J, the permit, the commissioning sheet, and a written guarantee, and we’re glad to audit a system someone else installed.
Why Spring Valley’s Climate Punishes Sloppy Installs
Spring Valley sits in a desert climate with summer design temperatures that push heat pumps to their limits. That matters because a system with a 10% charge deficit or a small duct leak will function in a mild climate and fail here. The equipment runs longer, the compressor works harder, and the wear that would take five years somewhere else takes 18 months in Spring Valley.
Our neighborhoods make this worse. In the older parts of Spring Valley, homes often have original ductwork that was sized for a furnace, not a heat pump, and the static pressure is already marginal. A crew that doesn’t measure static pressure during the install will never know the airflow is restricted. In the newer subdivisions, tight construction and attic installs mean the air handler sits in an unconditioned space that hits 140°F in July. Insulation and sealing on the line set and ductwork aren’t optional there, they’re the difference between a system that lasts and one that doesn’t.
We’ve also seen Spring Valley homeowners get talked into an oversized unit because the contractor wanted to move inventory. A 4-ton heat pump on a house that needs 3 tons will cool the place, and it will also short-cycle, fail to dehumidify, and burn through a compressor. The Manual J isn’t paperwork for its own sake. It’s the number that protects you.
If your home is due for a replacement, our AC repair in Spring Valley team can tell you whether repair makes more sense than replacement before you spend a dime on a new system.
Common Mistakes to Avoid
- Choosing the lowest bid without checking what’s included. A bid that doesn’t mention a Manual J, a permit, or a commissioning sheet is cheaper because those steps cost money. Two sentences into the proposal, you’ll know.
- Skipping the permit to save time. The permit is the only independent inspection your install will get. In Spring Valley, an unpermitted mechanical change can surface as a problem at resale years later.
- Not asking for the refrigerant charge record. Without it, no technician can tell you next year whether the system has drifted. Ask for the numbers in writing the day of the install.
- Ignoring the first utility bill. A 15 – 20% jump in the first summer is the earliest, cheapest signal that something’s wrong. Most homeowners wait two more summers before calling.
- Assuming a brand name guarantees a good install. Carrier, Trane, Lennox, and Goodman all make solid equipment. What separates a good system from a bad one is the crew that installs it, not the label on the box.
- Letting the installer skip the thermostat calibration. It takes ten minutes and it’s the difference between a system that runs to setpoint and one that fights you every day.
- Missing disconnected duct collars in the attic. It’s the easiest thing to check and one of the most common failures we find. Walk the attic at day 45.
When to Call a Professional
Call a professional if you find any of the documentation missing, if you spot disconnection in the ductwork or bare copper on the refrigerant lines, or if your first utility bill climbed instead of dropped. Call sooner if the system short-cycles, if the thermostat and the room disagree by more than 2°F, or if you hear the compressor laboring on a hot afternoon. Those symptoms point to a charge or airflow problem that gets more expensive with every week it runs.
If you bought a home in Spring Valley with a recent heat pump install and no paperwork, an audit before the installer warranty expires is worth the trip. Dalton Heating & Air Spring Valley offers free estimates in Spring Valley – call (888) 268-6106. Every job we do comes with a written price before any work starts and a written guarantee on every repair, so you’ll know the numbers before you commit.
And if you’re also due for heating work, our furnace repair in Spring Valley team can look at both systems in one visit.
Frequently Asked Questions
Most bad heat pump installations show symptoms within 18 months: compressor wear, refrigerant drift, and reduced capacity. The equipment itself usually fails between years two and five. The earliest signal is a first summer utility bill that climbs 15 – 20% instead of dropping, which is why we tell Spring Valley homeowners to compare year over year. If you’re past the first summer and the bill is creeping, call (888) 268-6106 for a diagnostic – estimates are free.
Yes, and you should. You can inspect the refrigerant line insulation for gaps, check that the outdoor pad is level, walk the attic to confirm every duct collar is seated, and compare indoor temperature to setpoint at three times of day. What you can’t check without gauges is refrigerant charge and static pressure, so if anything looks off, book a professional. Call (888) 268-6106 for a free estimate in Spring Valley.
A Manual J is the room-by-room load calculation that determines the correct heat pump size for your house. In Spring Valley’s desert climate, an oversized system short-cycles, doesn’t dehumidify, and wears the compressor out early. If your contractor can’t produce the Manual J, the sizing was a guess. Call (888) 268-6106 if you want us to review one.
If the unit is still under installer or equipment warranty, push for a proper diagnosis and repair first; that’s the cheapest path. If the warranty is gone and the compressor is showing wear, replacement usually makes more sense, but only after the ductwork and charge issues that caused the problem are corrected. Otherwise the new unit inherits the same failure. Call (888) 268-6106 for a free estimate in Spring Valley.
Most full heat pump installs in Spring Valley run $6,000 – $14,000 depending on system size, efficiency rating, and whether ductwork needs correction. A properly done job includes the Manual J, the permit, the commissioning sheet, and a written guarantee. A cheaper bid that skips those steps isn’t a bargain. Call (888) 268-6106 for a written price before any work starts.
Yes, federal tax credits and local utility rebates are often available for qualifying high-efficiency heat pumps, and the amounts change year to year. We’ll walk you through the paperwork. Start with a free estimate at (888) 268-6106.
The Bottom Line
Bad heat pump installations don’t announce themselves. They show up as a 15 – 20% utility bill jump, a compressor that fails at year three, or an attic full of disconnected duct collars nobody checked. Your job is to audit the install before the warranty window closes: get the Manual J, the permit, and the refrigerant charge record. Walk the equipment. Read the first utility bill. Use the 90-day checklist. If you’re in Spring Valley and something doesn’t add up, call (888) 268-6106 for a free estimate. We’ll put the findings in writing before any work starts, back it with our 365-Day Done Right Promise, and stand behind the repair for a full year.
Written by the team at Dalton Heating & Air Spring Valley.
See the difference
 Before
 After
 Before
 After
 Before
 After